Needlepoint
Exhibition: Women X Women
Artist: AFA Permanent Collection - Various Artists
Overview
The various artists in Women X Women use diverse methods and materials in their art practice. Two artists create their works using a form of needlepoint, which involves stitching yarn through an open weave structure or fabric and relies on colour changes in the yarn to build the pattern or image. This technique has a close relationship with feminine identity as it has a strong history within traditional feminine practice and is closely connected with ideas of domesticity.
This process focused project uses needlepoint to explore basic stitching techniques and colour blocking design to create a composition.
Objectives
Be introduced to basic needlepoint techniques
Focus on the process of mark making with new materials
Develop fine motor skills
Learn how to draft a simple pattern
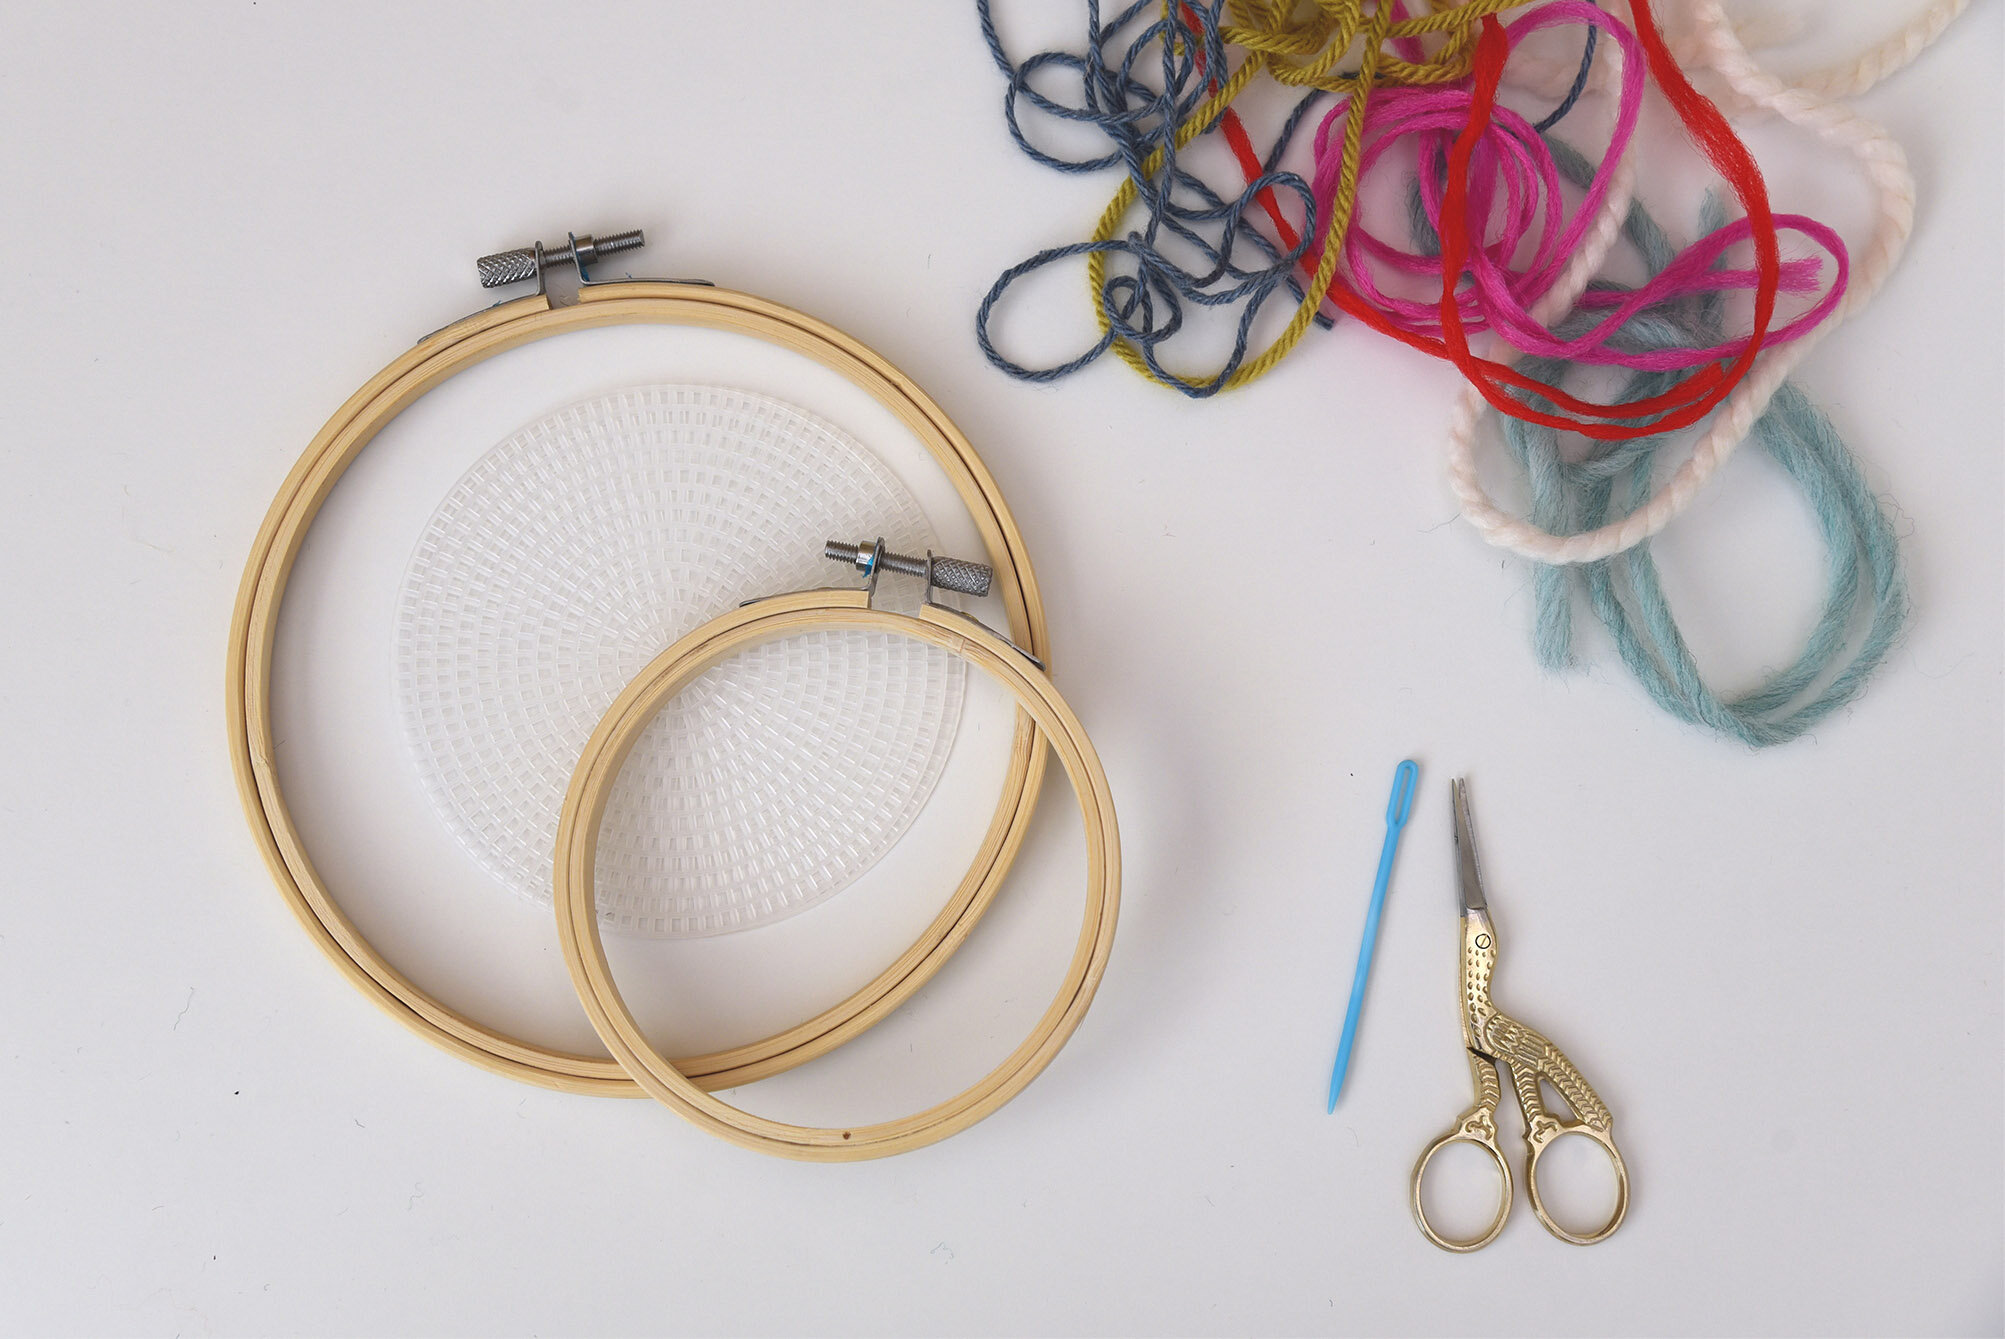
Materials
Open weave plastic structure or scrap fabric (large open weave fabrics, such as burlap or canvas, works well for younger participants)
Embroidery Hoop (if using scrap fabric)
Large-eye sewing needle
Scrap yarn and embroidary thread; various colours, thickness and textures
Graph paper
Pencil crayons
Instructions:
Step One
Open the embroidery hoop and place fabric inside. Close securely around fabric making sure the tension is tight.
Step Two
Thread the large-eye needle with yarn of your choice. Younger participants may need help tying a knot at the end of the yarn. Be sure to tie a knot big enough so it doesn’t pull through the open weave.
Step Three
Begin with your needle at the back of the fabric, poke through the open weave and pull the needle through to the front side until the yarn stops from the knot. Then poke the needle down through the front side and back through the back side.

Step Four
Have fun experimenting and seeing what kind of mark making you can create by using yarn of varying colours and textures and trying different stitch variations.
Stitch Variations:
Stitch length: vary the distance between where you poke the needle up through the weave and then down through the weave to create shorter or longer stitches
Make one stitch out and then come back to the same spot to create a radial design like a starburst
Create short, random stitches to look like polka dots
Stitch around other stitches and fill in to create a background
Make X’s by crossing over your previous stitch
Thread a folded piece of yarn to create a wider stitch
Thread twisted yarns of two different colours together
Make longer rows of stitches beside each other to create a solid shape
Research different stitching techniques and try them out. Ie. cross stitch, blanket stitch, buttonhole stitch, chain stitch, fern stitch, knotted stitch and many more


Variations
While younger participants can explore and experiment with the new materials in a ‘no rules’/free form manner, older participants can challenge themselves by learning to draft and follow a pattern.
To draft:
Take a sheet of graph paper. Trace your embroidery hoop or the outline of your plastic weave structure on to the graph paper to create a template of the dimensions you have to work within.
Begin colouring squares on the graph paper using coloured pencil crayons that correspond with the colours of yarn you will be using. Continue colouring squares of the graph paper until your desired pattern is complete. You will then be able to use your draft as a visual guide while doing your actual stitching.